Users
This section allows you to check the details and manage the permissions of each imBee user. Scroll down to check how you can do it.
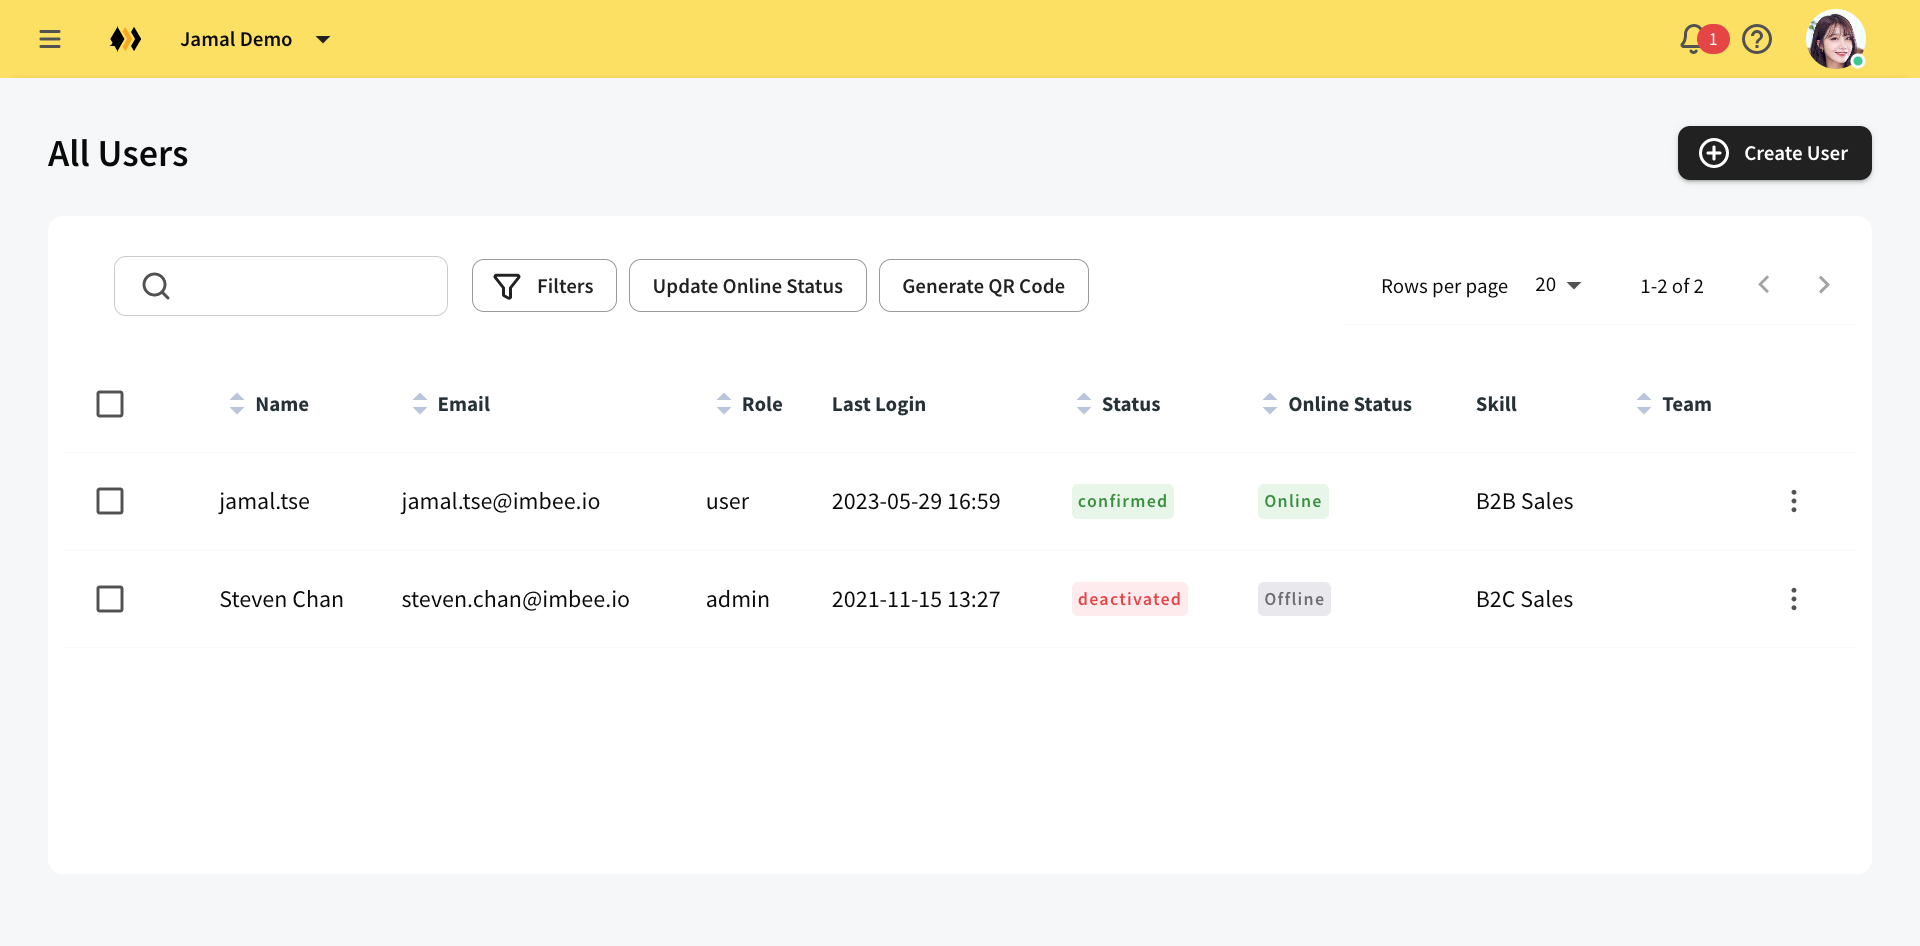
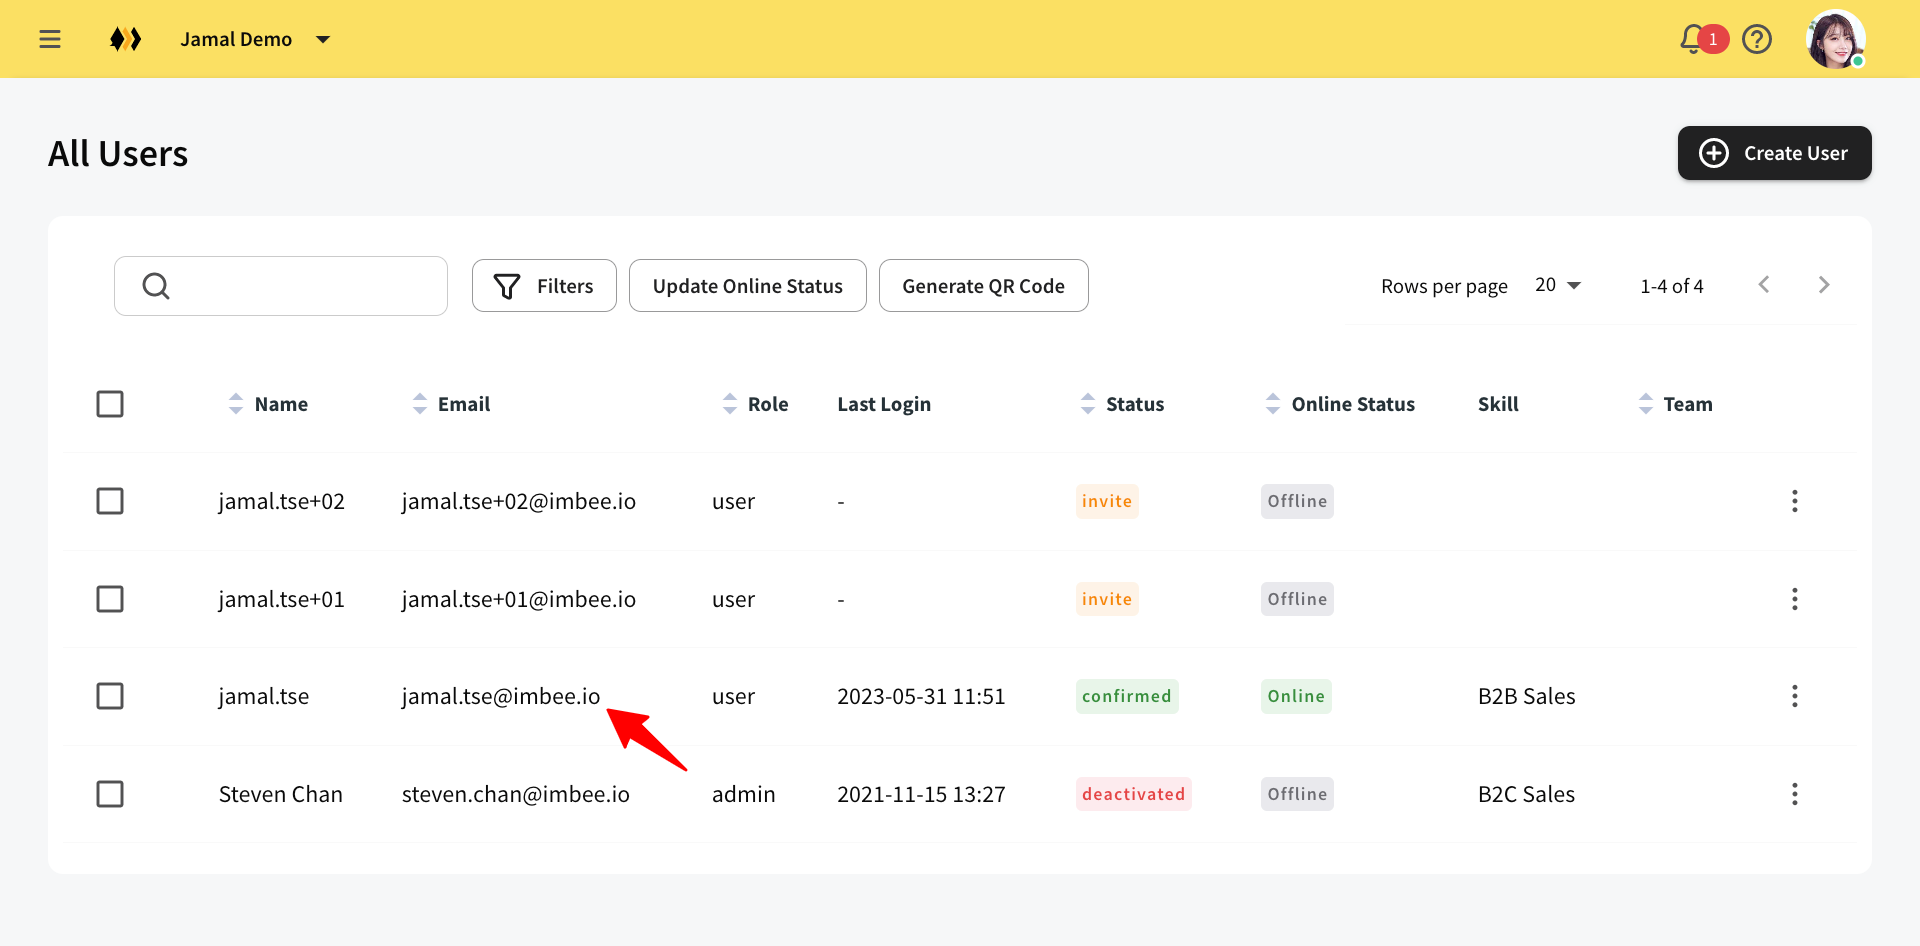
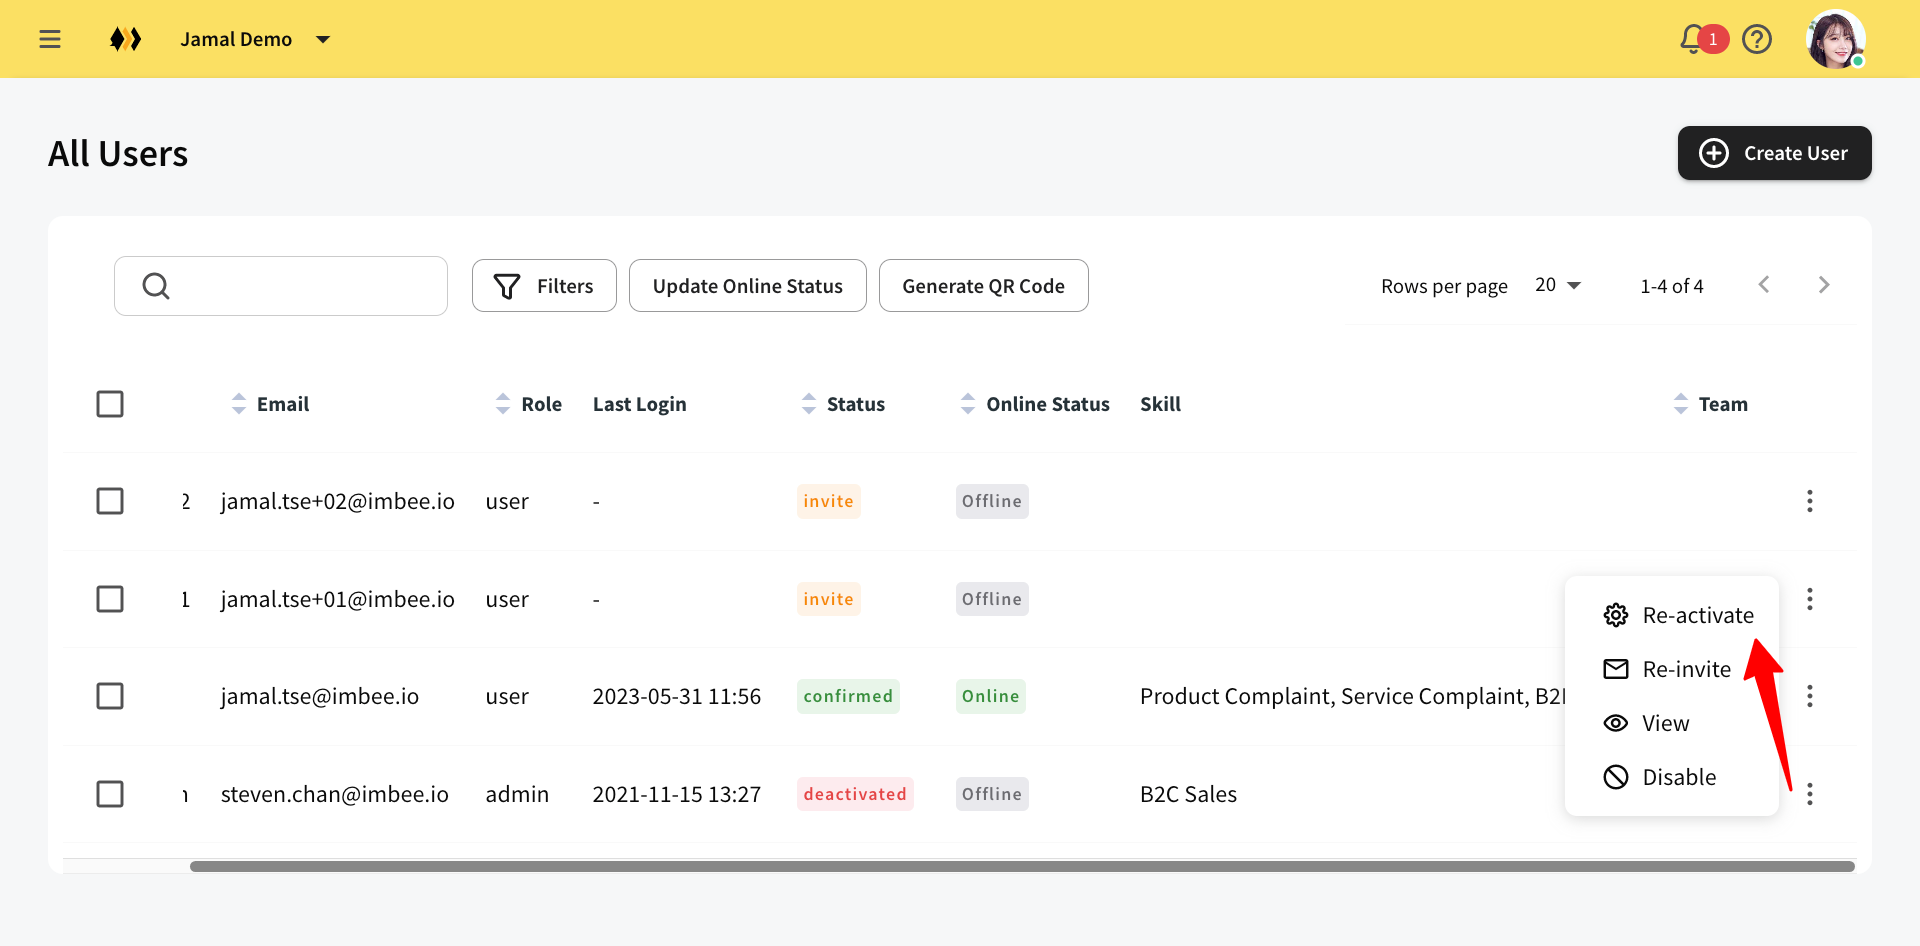
In the main page, it will list out all the imBee users.
Status:
Invite - The users are being invited. The new user will receive an invitation email. Without accepting the invitation, the user cannot access to the platform.
Confirmed - The users have already accepted the invitation and are allowed to access to imBee platform.
Deactivated - The users are not able to login until reactivation.
Add user(s):
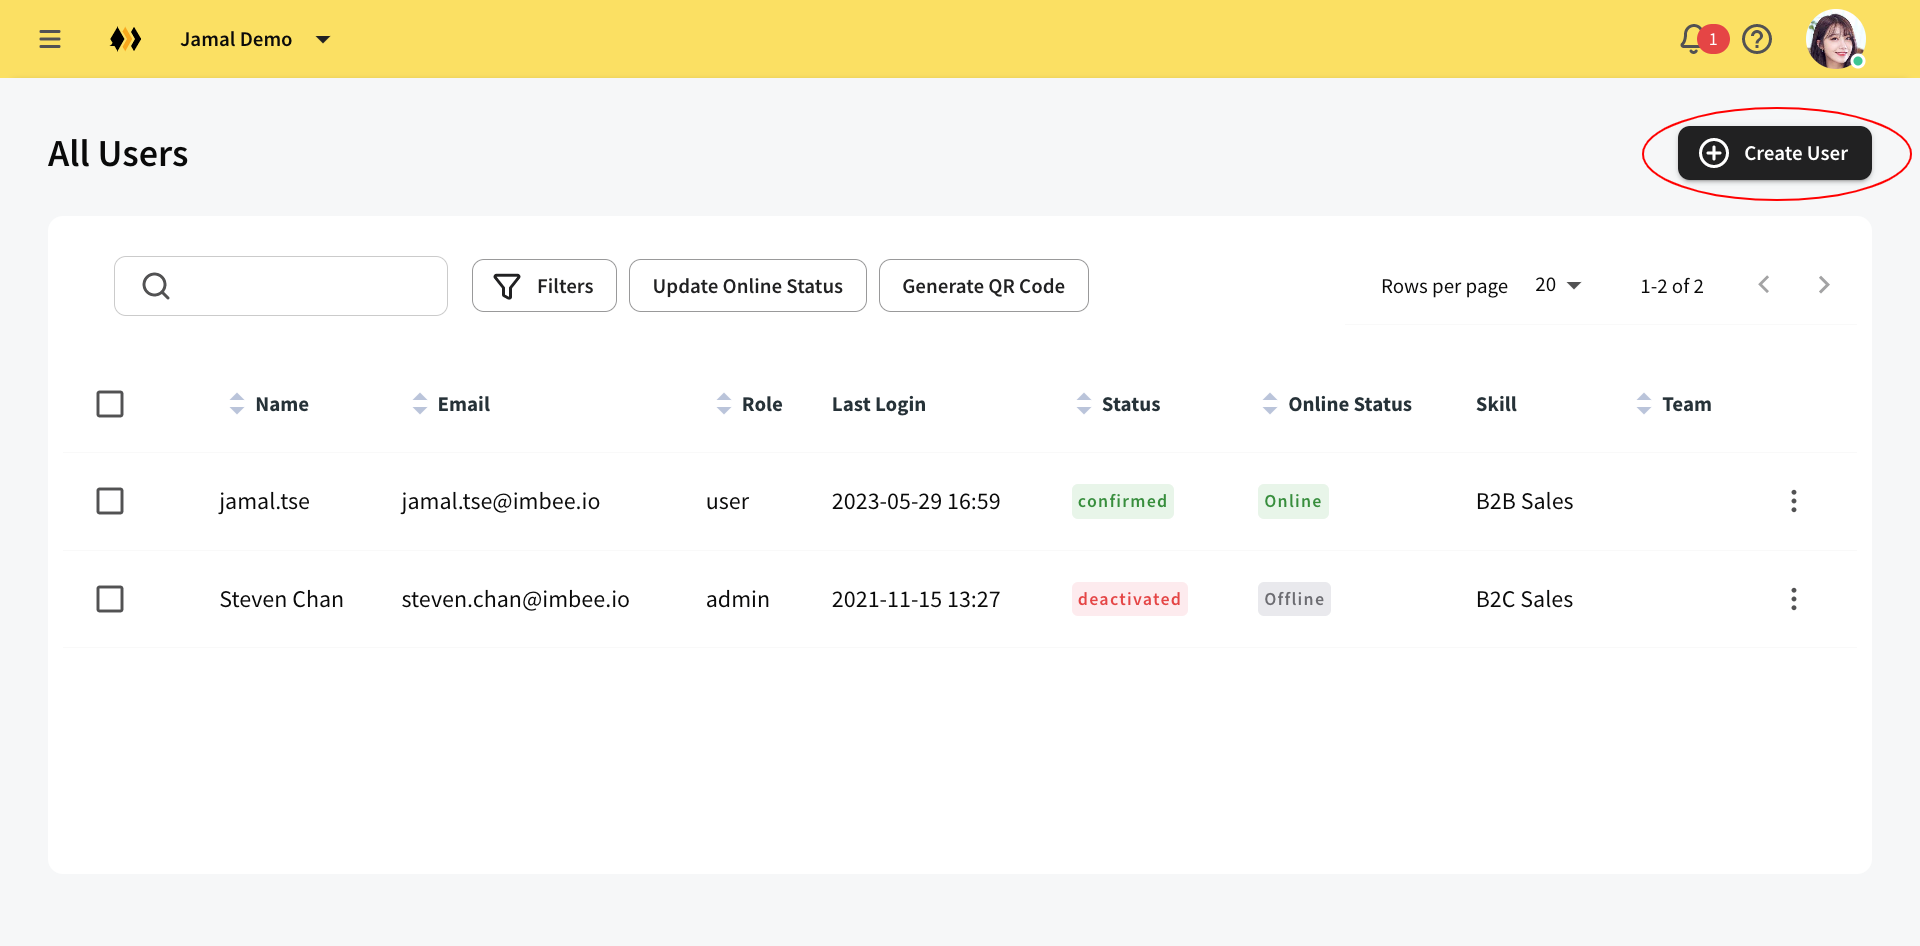
Click Create User
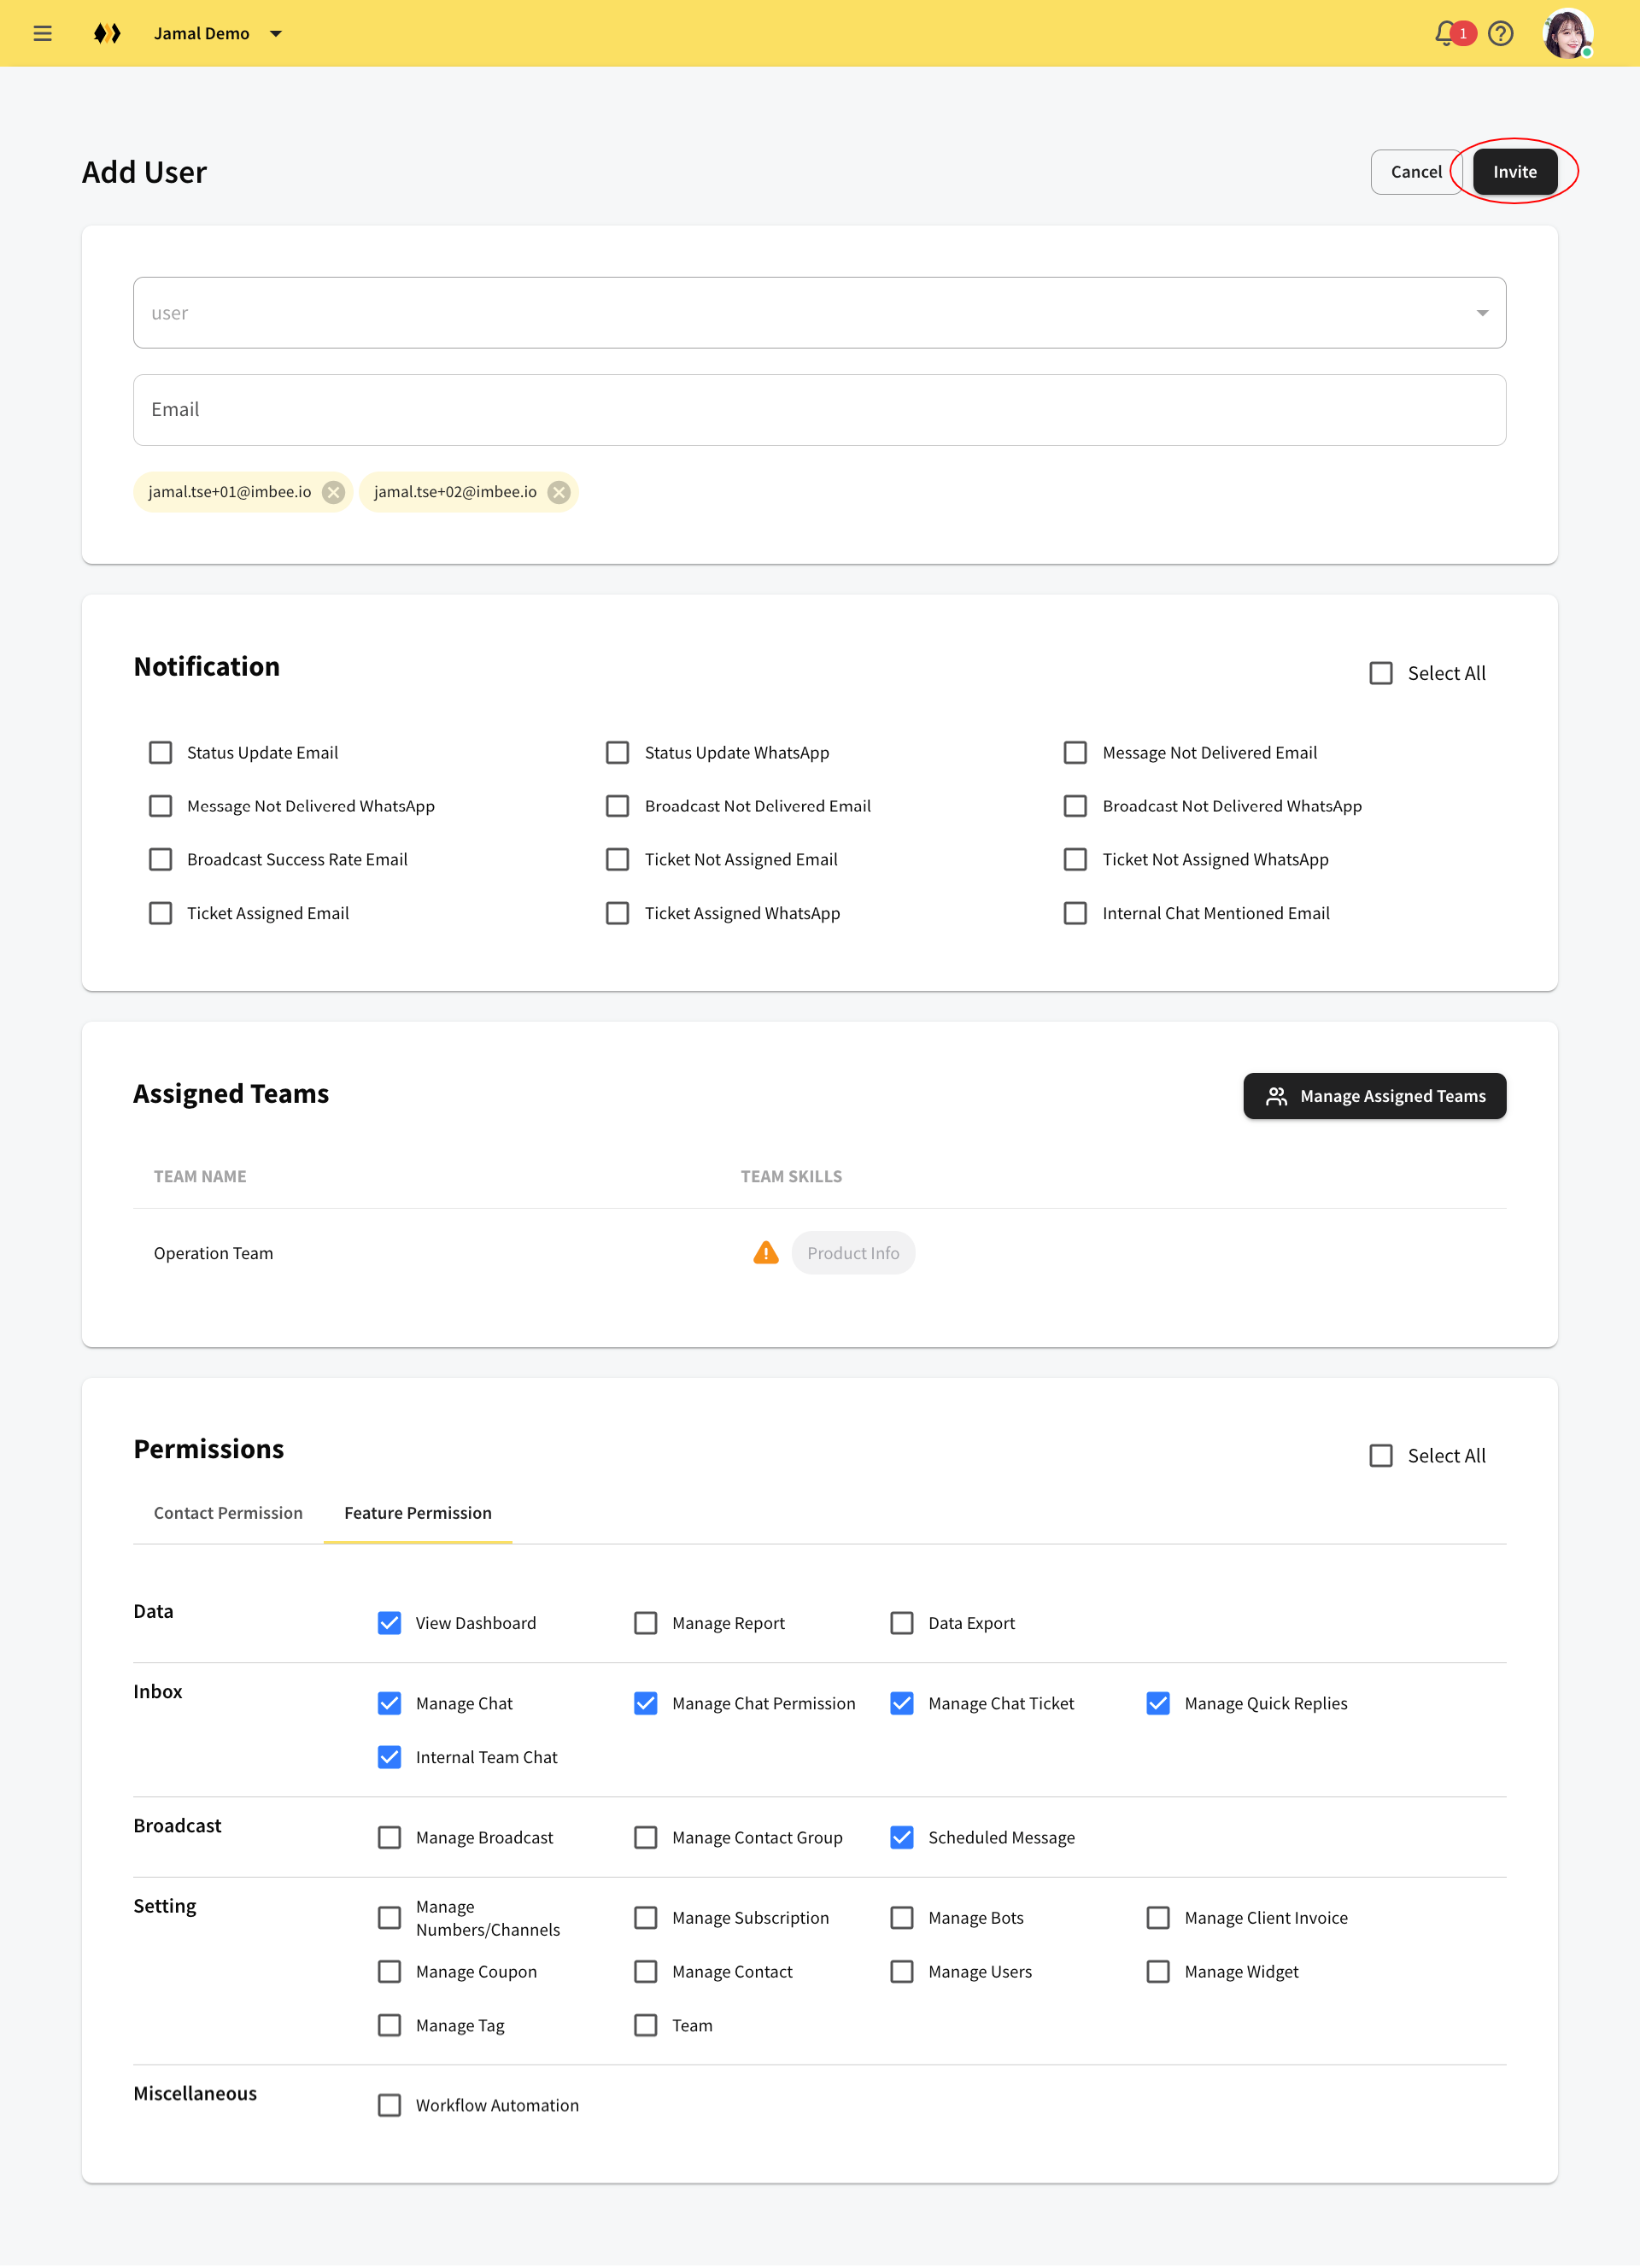
Fill in the email, select the role, team (optional), notification, contact permissions and feature permissions, then click invite
If you are going to invite multiple users, insert comma after the email address
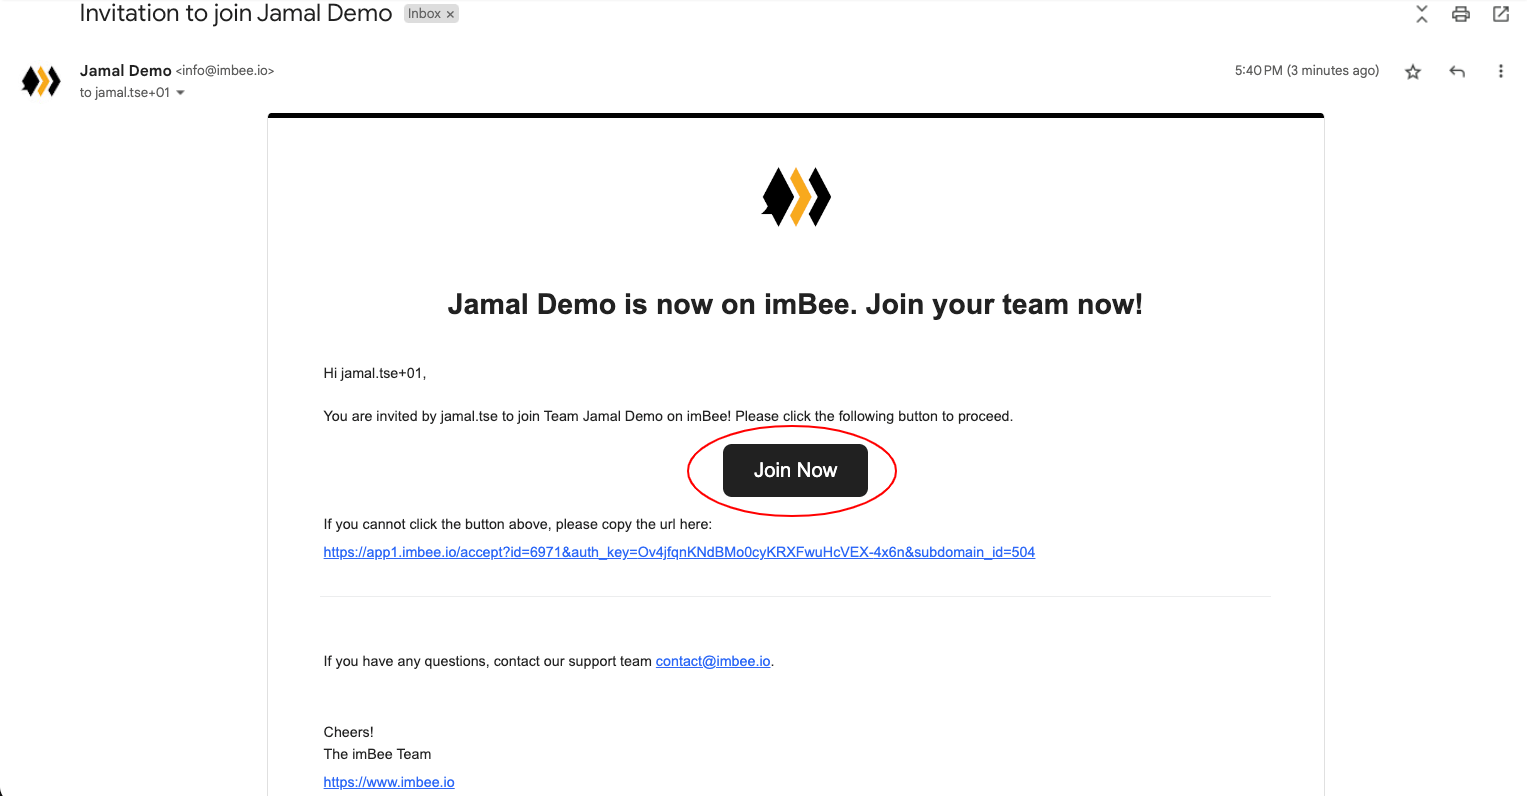
After adding a user, the new user has to activate the account by undergoing the below process.
Activate new user account:
The new user should receive an email from info@imbee.io. Click Join Now.
Fill in your information and set your password. Click Join Your Team to complete the registration. You will be redirected to the imBee portal main page afterward.
If the user cannot receive the invitation email:
The user can check the junk email box
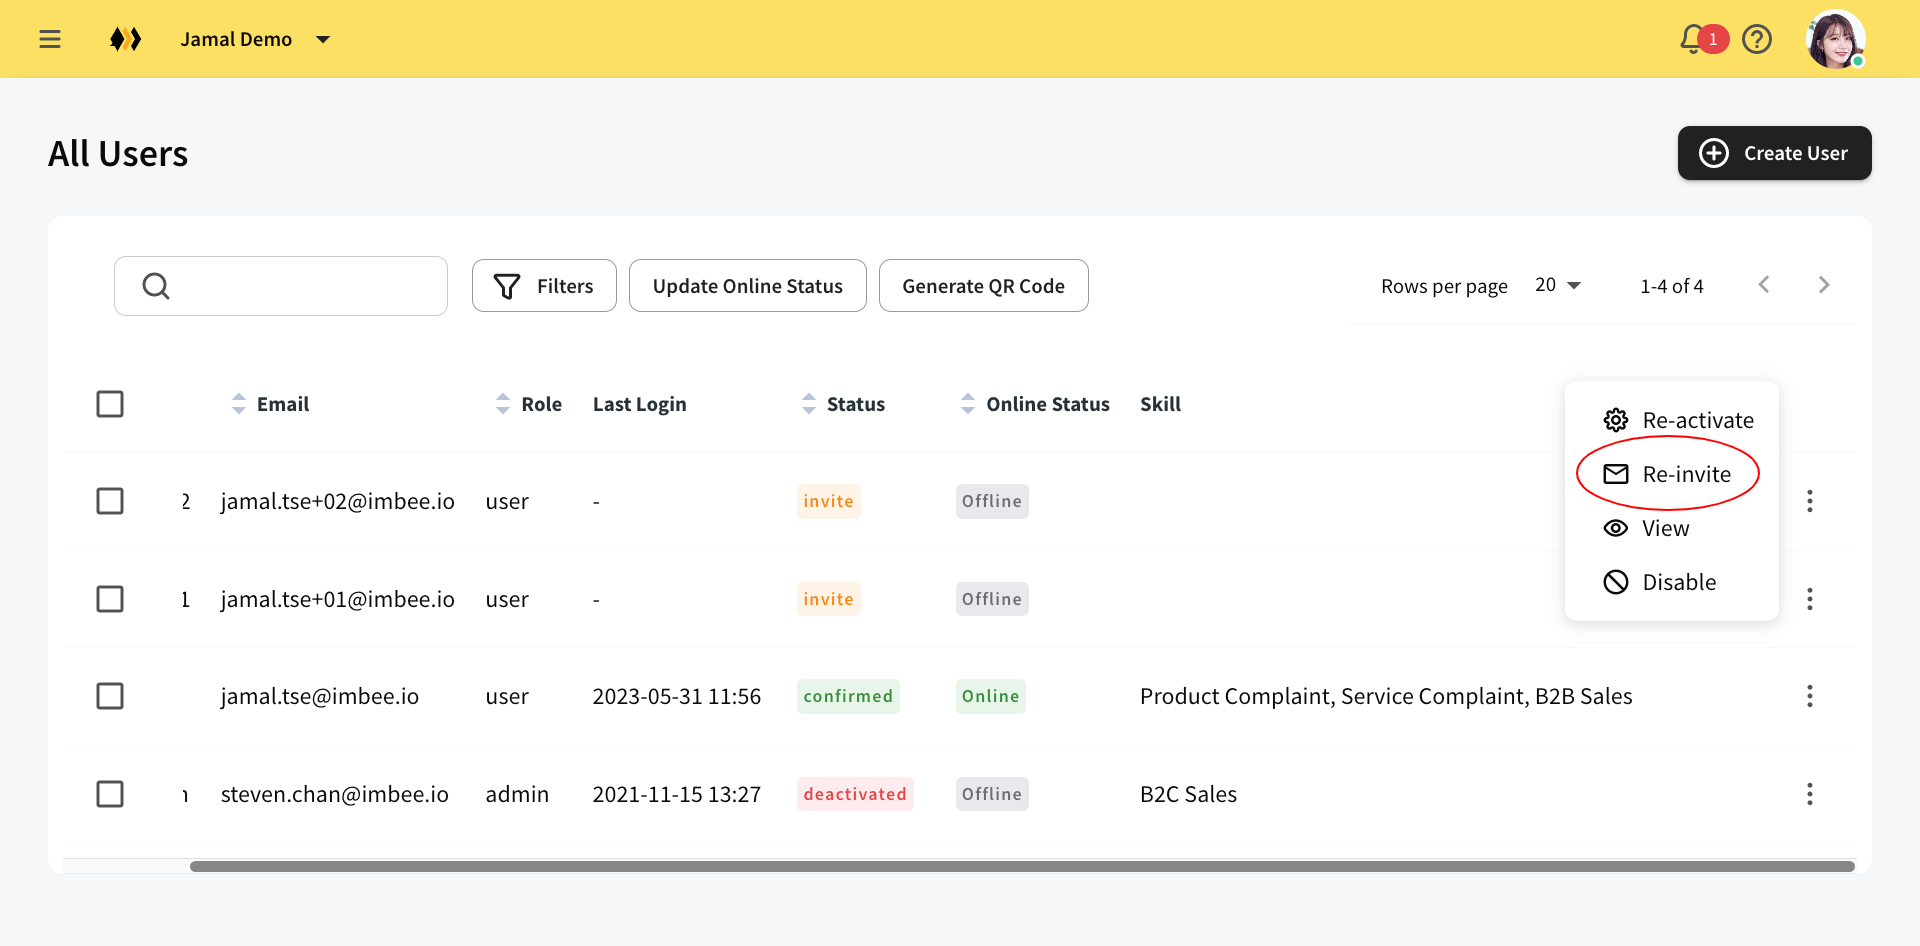
The admin can send the activation email again.
Edit a user:
Click on the user that you want to edit.
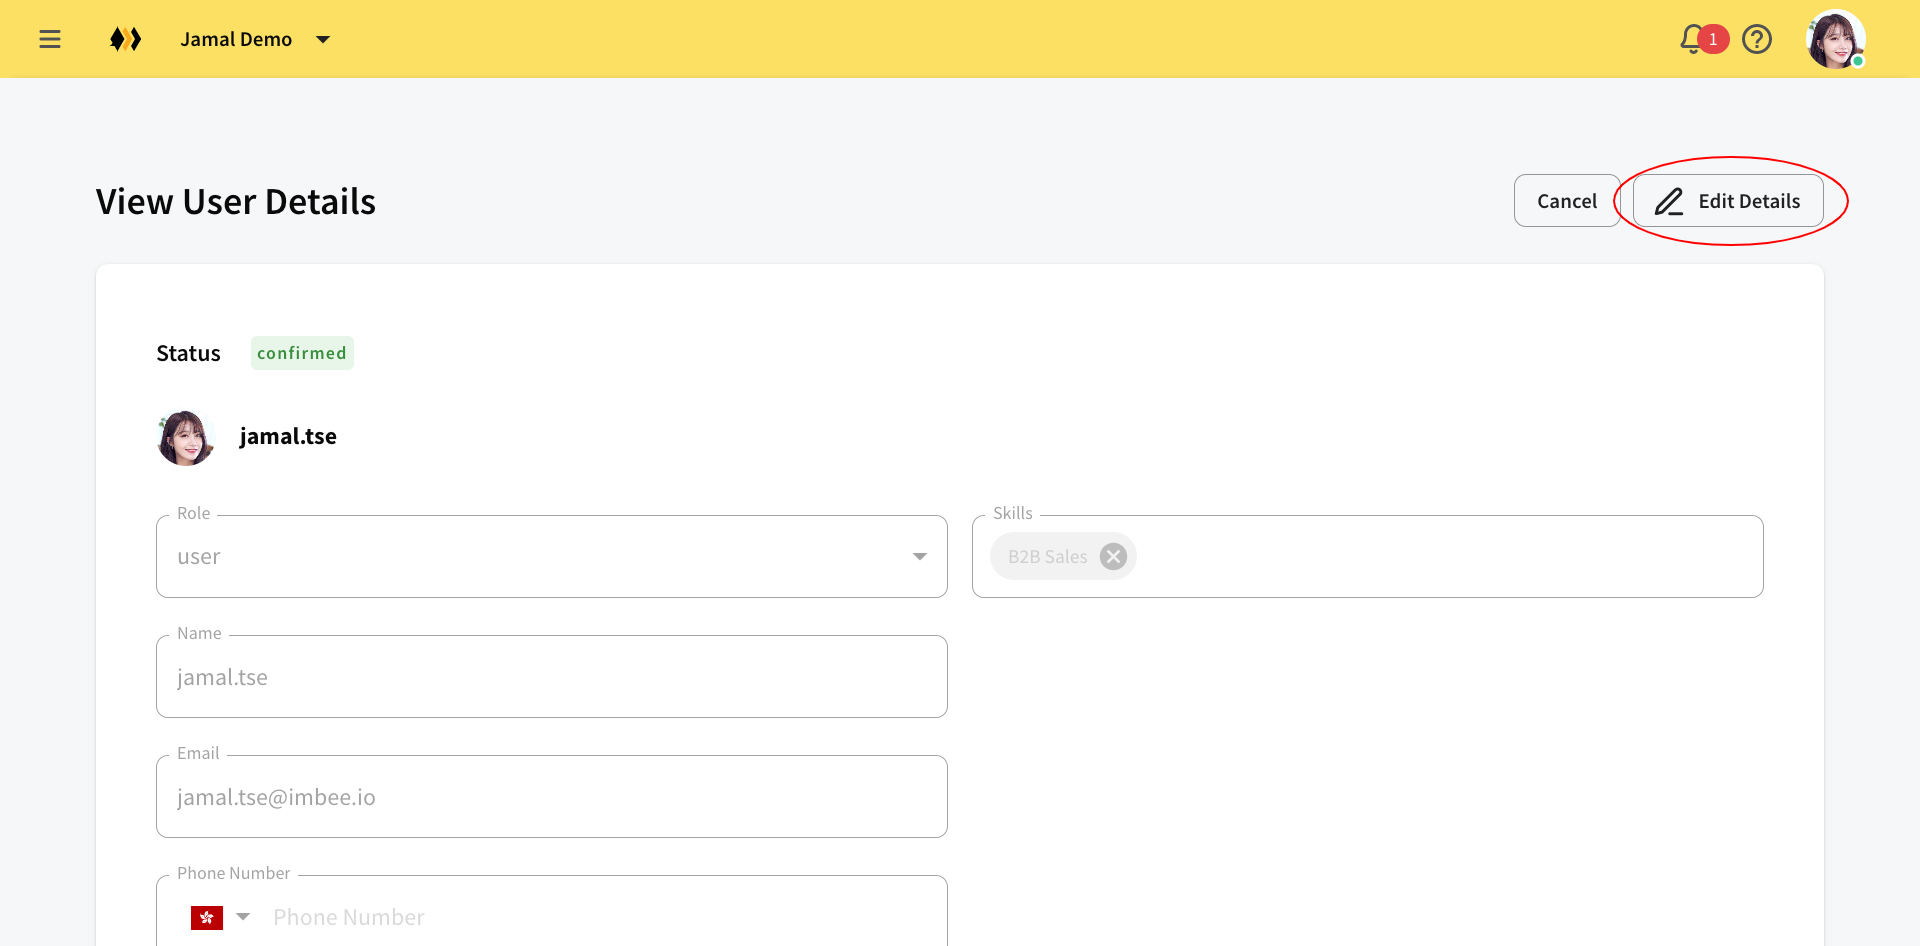
Click Edit Details and adjust the settings.
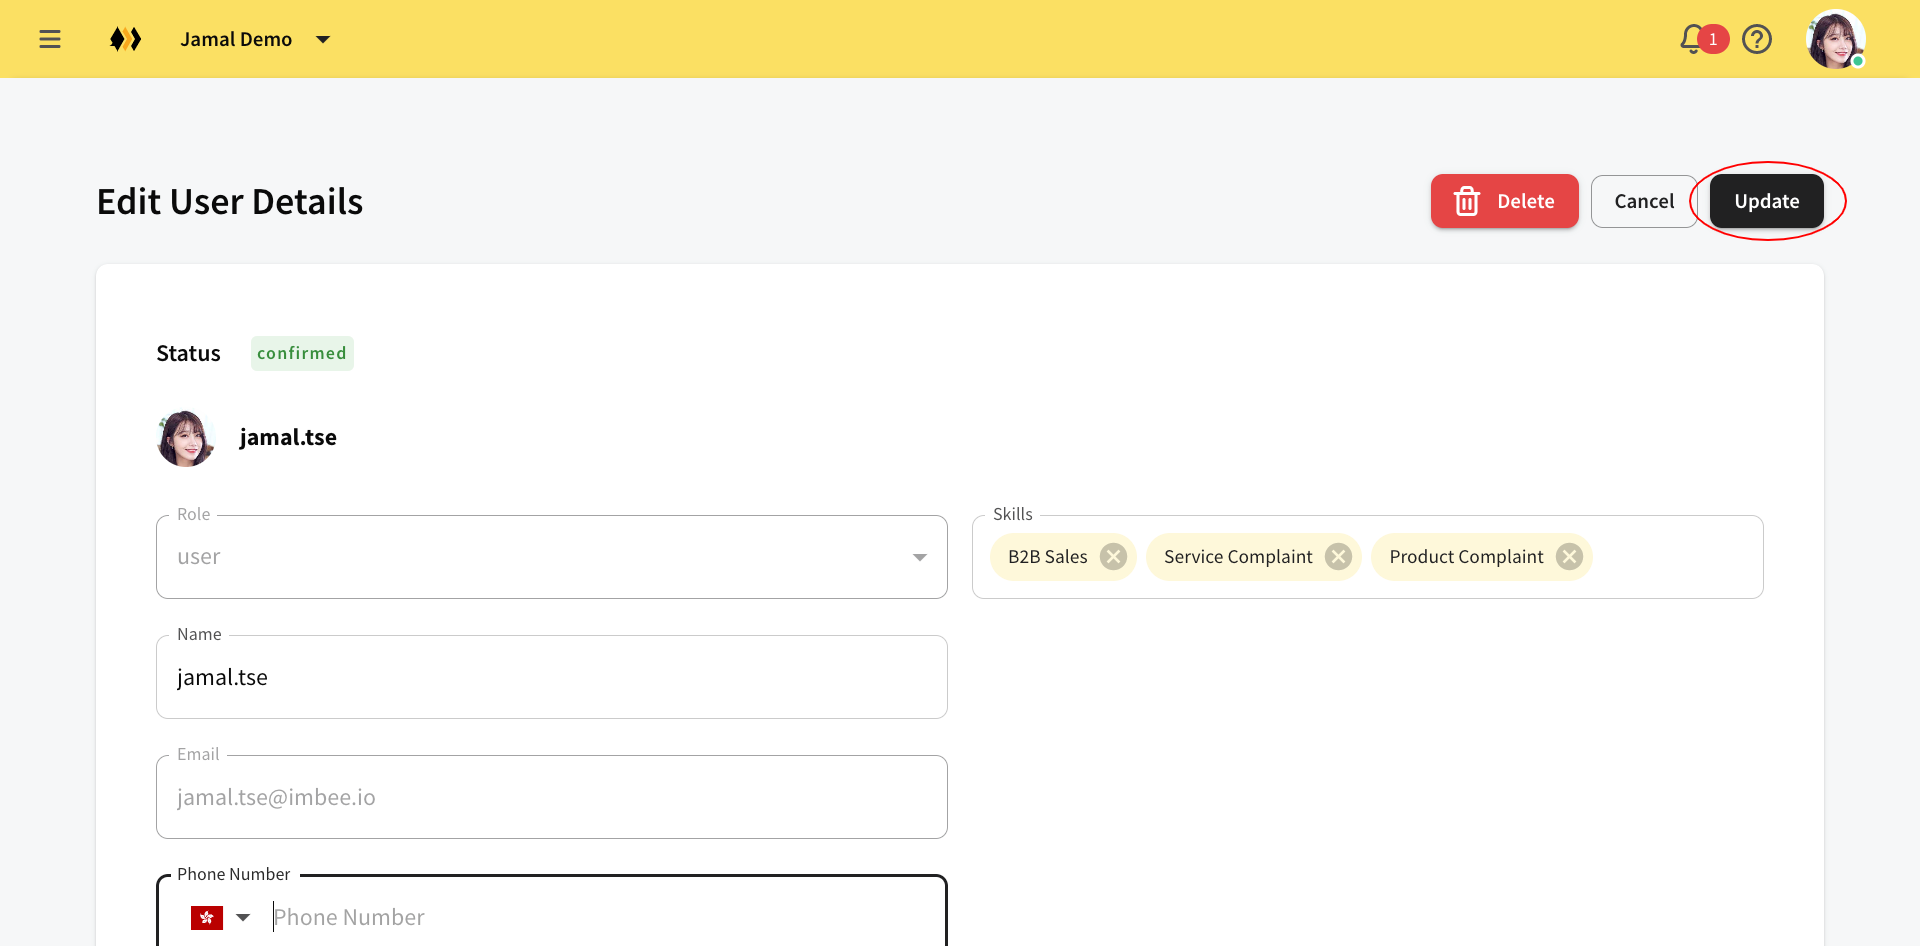
Click Update finally.
If the user is no longer needed, click Disable to deactivate.
Conversely, you can click Re-activate to re-grant the access to the user anytime.
Last updated